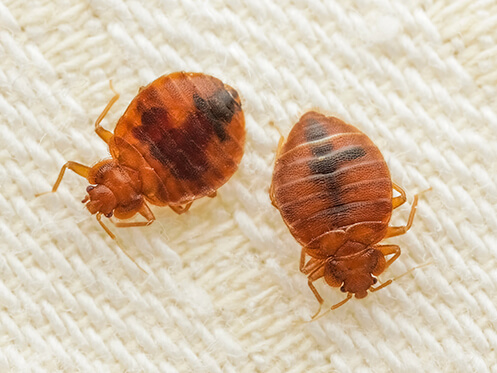
Hopefully, you have read our article on “Bedbugs: More Information Than You Wanted to Know” and you have confirmed you have bedbugs, the locations of their nests and about how advanced the infestation is based on the size and quantity of bugs. Now it’s time to take charge and get rid of the bedbugs.
Step 1: Declutter
It is important to remove as many hiding places as possible. Declutter the area by picking up toys, clothing, bedding, curtains and placing them in a bag to be laundered. High heat in the dryer is generally effective in removing them from textiles. After laundering, place them in an airtight bag so re-infestation cannot occur.
Step 2: Vacuum
Vacuum the floor, bedding and furniture slowly and thoroughly — daily! After vacuuming, place the vacuum bag in a garbage bag and tie tightly then throw it away outside. This will help with the removal of eggs and breeding bugs to slow the reproduction and infestation.
Step 3: Treatment
There are two ways to treat bedbugs; non-chemically or chemically. Considering that you and your family will be sleeping, sitting and walking in the area treated, a non-chemical treatment is worth considering. Most treatments do require that you vacate the premises and cost a little more, but you will not have to worry about the chemicals reaching you, your family or pets. The most common are heat, cold and ozone. The heat process can be harmful to your home electronics as it has to heat your home and its contents to over 113℉. Cold will also kill bedbugs, though not as effective, because it must be below 0℉ and must remain there for four days. The most effective non-chemical treatment is the use of ultraviolet ozone. This method can treat your entire house at once and works on bedding, furniture and behind walls and receptacles where bugs can also hide.
Chemical treatments consist of professional and DIY options. According to the EPA Website, there are 300 registered products that fall into seven chemical classes of pesticides that are currently registered and widely used for bed bug control. Each class approaches killing bedbugs differently. Knowing how to effectively handle the chemical and treatment is worth having a professional.
Step 4: Prevention
It is important to repeat the vacuuming process after the treatment. This will remove bugs that were not fully killed but were affected by the treatment and provide a second chance to get any missed eggs. Vacuuming daily for the next two weeks, following the process in Step 2.
Encase your mattresses and pillows to eliminate hiding spots and to allow for ease in spotting remaining bugs. Keep the area free from clutter to allow additional hiding spaces for the live bugs.
Bedbugs are a lot of work, but if you are diligent in this four-step process, you will quickly and efficiently eradicate them from your home.


